
How to use a HydraPak: Instructions for best use
You’ve just got your new HydraPak. Whether you’re just getting it out of the box or halfway through a paddleboard session, you might be wondering how to use it.
If you’ve never used a HydraPak or a water bladder before, we want to make sure your gear never gets in the way of your next great adventure.
This guide is designed to help you get the absolute most out of your HydraPak. By the end of this read, you’ll know exactly how to prep, fill, open, and drink from your hydration system, plus how to solve a couple of commonly asked issues. Let’s dive in!
Article summary: Key takeaways
- Wash before you hit the water: Always clean your brand-new HydraPak with warm water and mild soap before its maiden voyage to ensure the freshest taste.
- Bite, don’t chew: To drink, simply apply gentle pressure to the bite valve with your teeth. Chewing will damage the silicone over time!
- Yes, you can freeze it: HydraPaks are freezer-safe, making them the ultimate hack for ice-cold hydration during intense summer sessions on the lake.
Your step-by-step instructions for your HydraPak: How to use it
Step 1: Prep your HydraPak for its first use
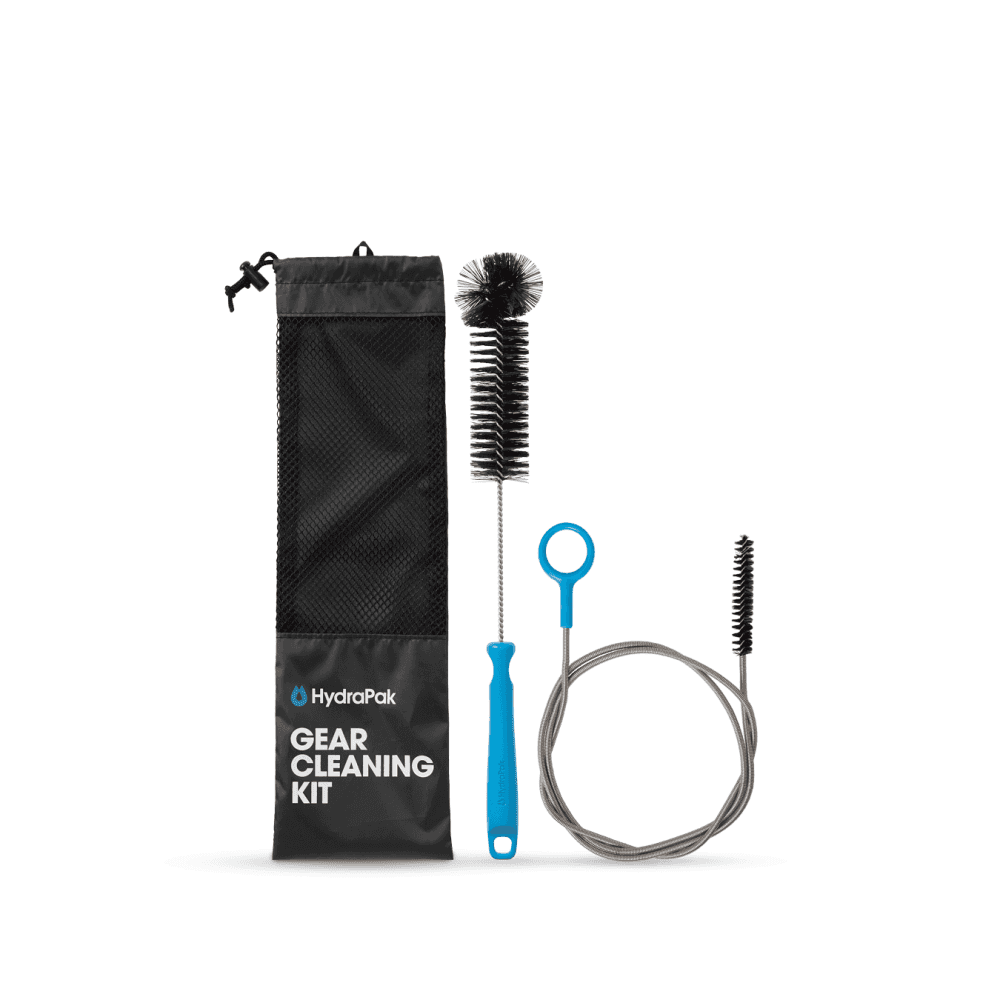
Clean it out. When you first get your HydraPak, it’s crucial to give it a good wash before you take it out on the water. This applies to all models.
- Why: Manufacturing processes can leave a slight “new gear” taste. Washing it ensures your water tastes crisp and clean.
- Pro-Tip: Use warm water, mild dish soap and the HydraPak Gear Cleaning Kit. Swish it around, run some soapy water through the hose and bite valve, and then rinse thoroughly until the water runs clear.
Step 2: How to Open a HydraPak
Slide or twist. Different HydraPak products have different openings, depending on whether you’re using a HydraPak bladder or a water bottle.
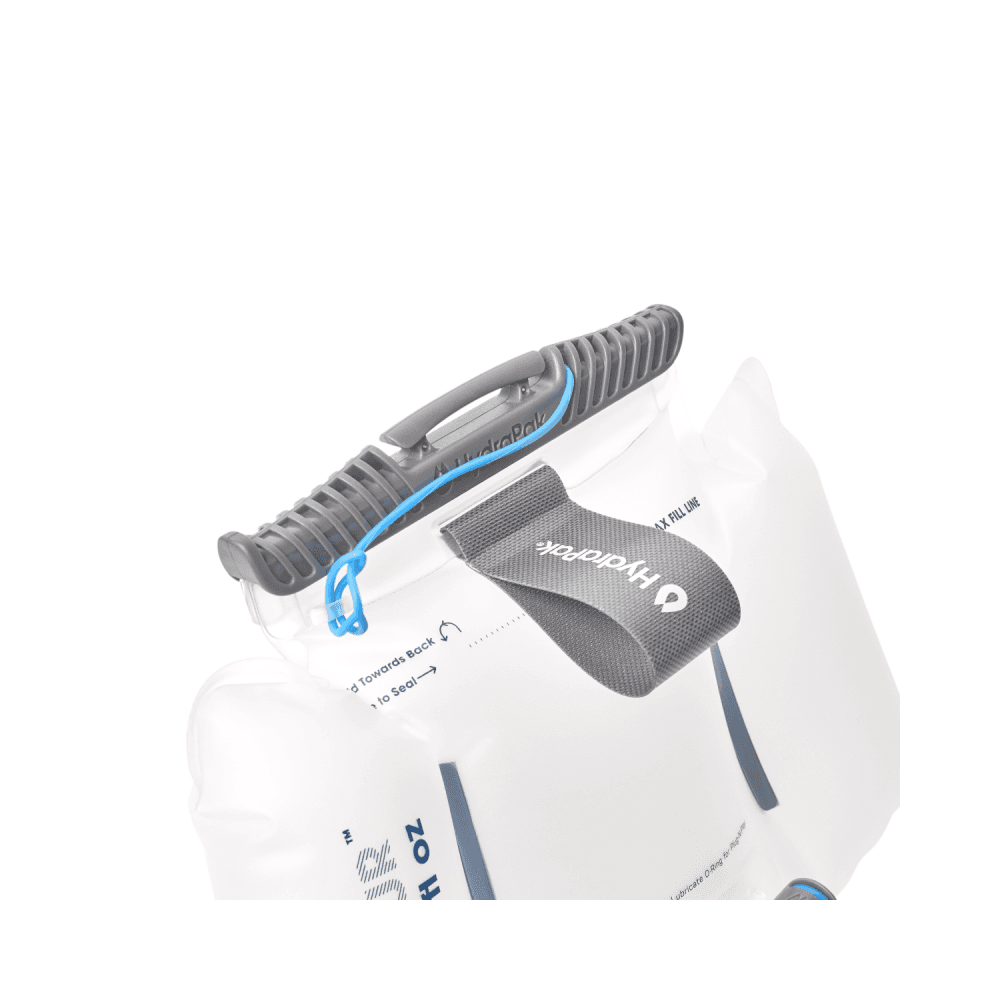
How to open a HydraPak bladder: HydraPak bladders feature a brilliantly simple Slide-Seal™ top.
- Just grab the hard plastic slider at the very top and slide it completely off to one side. The slider is directional, so make sure you pull it towards the closed end.
- Once the slider is off, flip the flap up.
- Locate the front handles and place two or more fingers underneath each.
- With a firm grasp of the front and rear handles, pull the two sides of the opening apart to open the reservoir. You may need a fair amount of force, but don’t worry; the reservoirs are tough.
HydraPak: How to open them for the first time: If the Slide-Seal feels a bit stiff the first time, don’t worry. It will loosen up after the first use while maintaining a perfectly watertight seal.
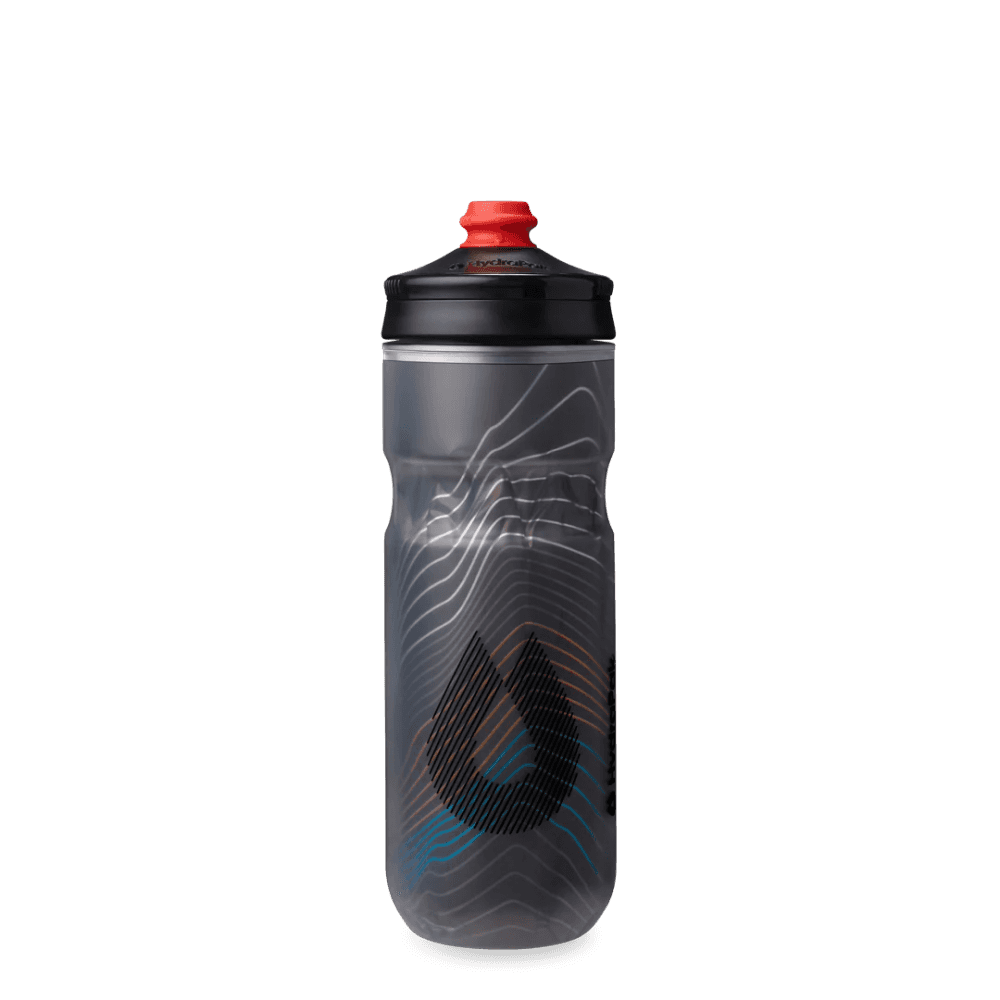
How to open a HydraPak water bottle: If you’re using one of their soft flasks or water bottles, simply twist the cap counter-clockwise just like a standard bottle.
Step 3: How to fill a HydraPak
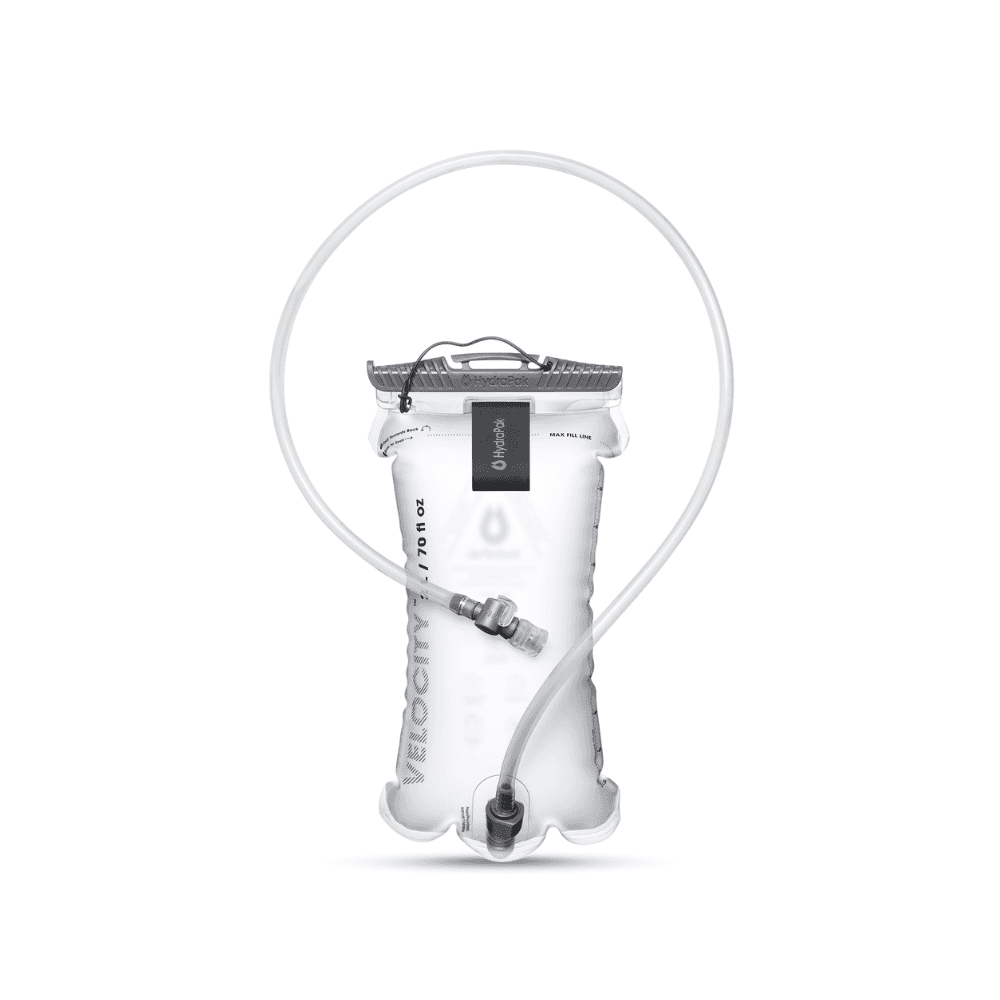
Pour and seal. With the top open, you’re ready to fill up for the day.
Why: Knowing how to fill a HydraPak bladder ensures you have enough water for your session without risking a blowout in your kayak or backpack.
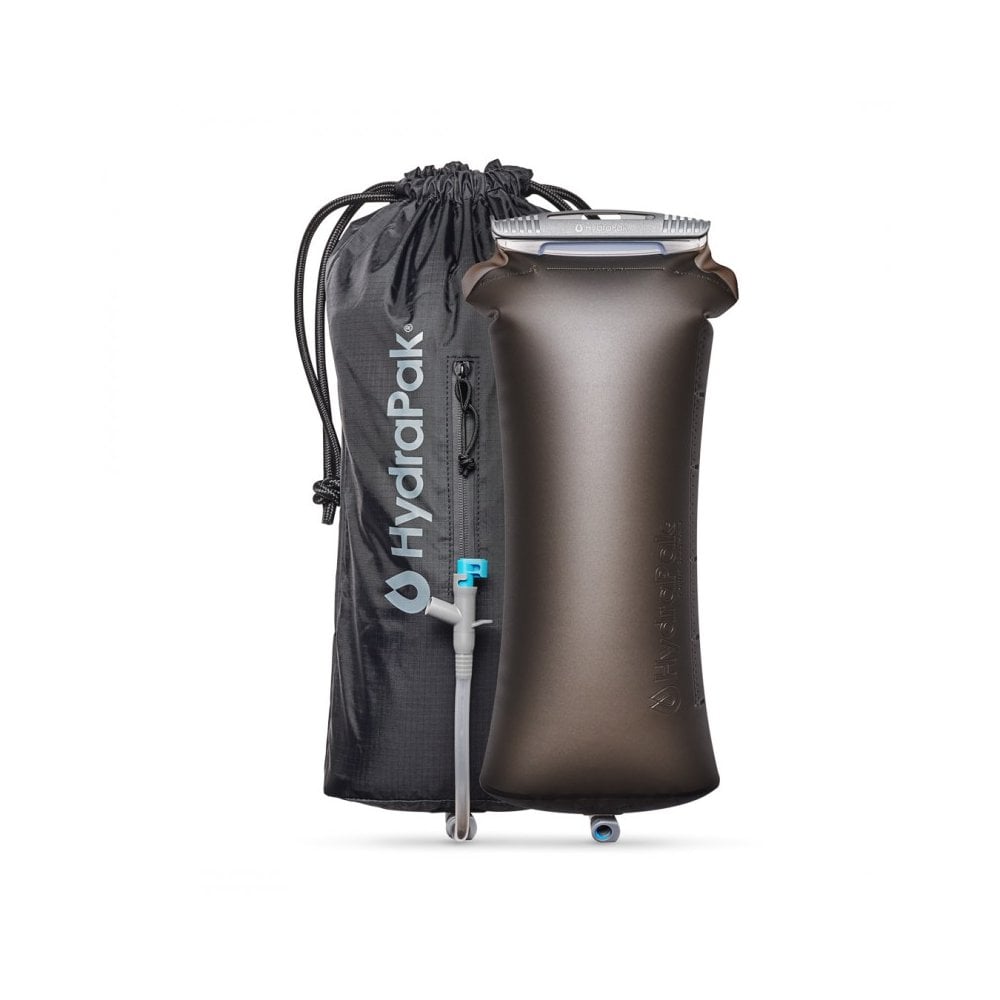
How to fill a HydraPak reservoir correctly: Before you fill your reservoir, make sure the exit spout is sealed with the Plug-N-Play connector. Hold the bladder open by the plastic opening and fill it from the tap, a jug, or already filtered water.
HydraPak: How to fill to avoid blowouts: Keep an eye on the capacity gauge printed on the front. Never fill past the max fill line. Once filled, fold the top lip over and slide the plastic slider back on. Make sure it clicks or sits flush so you know it’s fully locked. In terms of temperature, the reservoir was designed to carry both cold and warm water (-20°F up to 140°F).
What to put in your HydraPak and what not to put in it
When filling your HydraPak its important to fill it with the right liquids. Please only fill the HydraPaks with:
- Water
- Electrolyte drinks
- Nutritional gels
- Powdered protein
- Cleaning tablets
While you can put in coffee, tea, juice, and milk, there is a risk that they may leave a taste on the film, cause the inside to change colour, and, in some cases, degrade the material.
Never put the following into your HydraPak:
- Alcoholic beverages
- Anything highly acidic, such as vinegar
- Anything highly basic, such as ammonia
- Any liquid above 140 °F (60 °C)
- Cooking oil
- Fuel
- Motor/Machine oil
Step 4: How to drink from a HydraPak using the bite valve
Bite and sip. The HydraPak bite valve is designed for high flow and zero leaks, but it requires a specific technique.
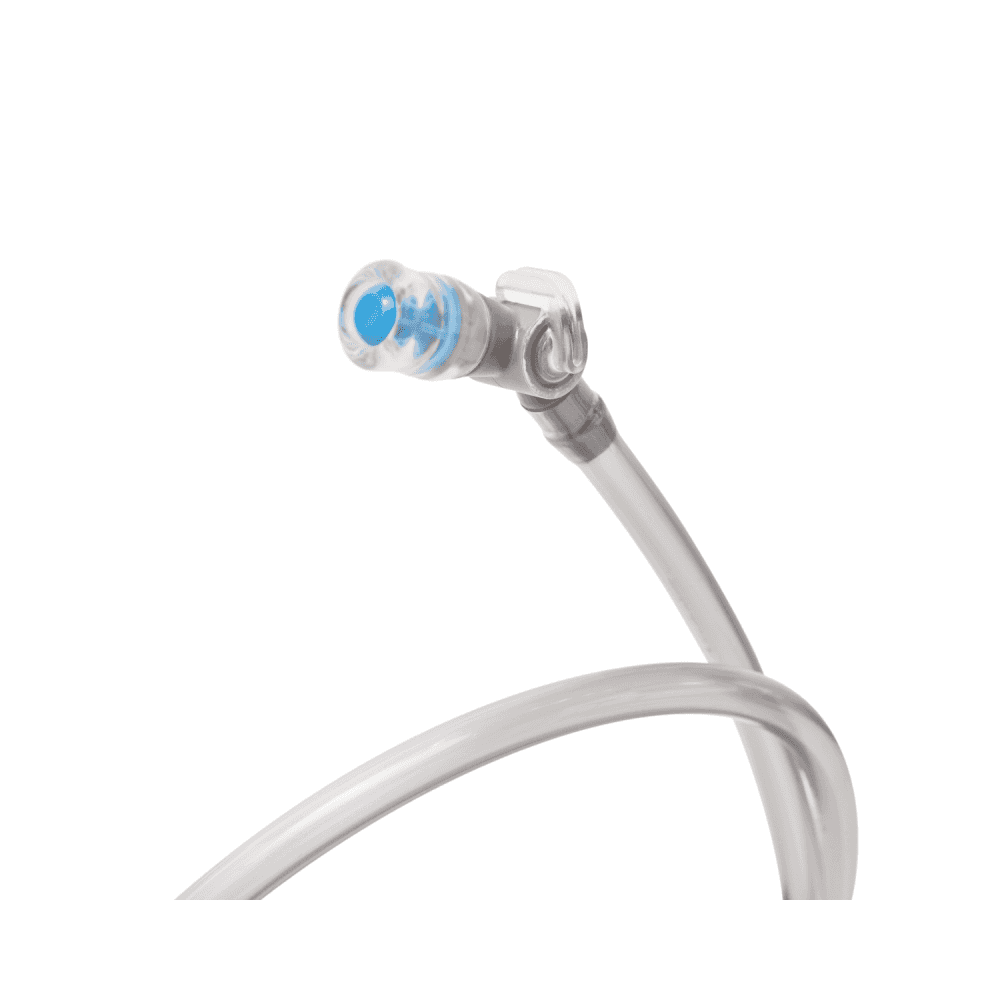
- How to use the HydraPak bite valve: Place the valve in your mouth and gently bite down on the silicone sheath with your teeth. This pressure opens the internal slit. While biting down gently, suck the water through the hose at the same time for the water to start flowing.
- Pro-Tip: Bite, do not chew! Chewing aggressively on the valve will tear the soft silicone, which will eventually cause it to leak. Some HydraPak valves also feature a twist-to-lock mechanism. Make sure it’s twisted into the “open” position before you try to drink!
Troubleshooting common issues and FAQs
Even the best outdoor gear can throw you a curveball. Here’s how to handle the most common HydraPak queries we get in the shop.
Can you freeze a HydraPak?
Yes, absolutely! HydraPaks are incredibly durable and designed to handle freezing temperatures. Freezing your bladder is a fantastic way to guarantee ice-cold water during a scorching summer paddle.
Pro tip: If you plan to freeze it, do not fill it to the top. Water expands as it freezes. Fill it about three-quarters full, squeeze out the excess air, and lay it flat in your freezer. Before your trip, top off the rest of the frozen bladder with water to break up any sharp ice strands that might puncture the film. While it’s frozen, be sure not to drip your bladder because at low temperatures it can cause the reservoir to split.
My HydraPak is leaking; what should I do?
Don’t panic! A leaking HydraPak doesn’t necessarily mean that it’s broken. It usually just needs a quick adjustment. First, isolate where the water is coming from:
- Check the Slide-Seal: 90% of the time, the plastic slider at the top hasn’t been pushed all the way across. Make sure it’s fully sealed.
- Check for grit: If you filled up near a sandy beach or muddy riverbank, grit can get caught in the top fold or the bottle threads. Wipe the seal area completely clean and reseal.
- Check the O-Rings: If it’s leaking from the bottom where the hose connects (the Plug-N-Play system), disconnect the hose, ensure the small rubber O-ring is seated correctly and free of debris, and click it firmly back into place. You can apply a tiny dot of silicone grease or water to help it seat properly (avoid cooking oils).
- Bite Valve: Pull off the silicone valve sheath, wash it with warm soapy water, and check for splits. If the valve itself drips, replace it by pulling the old one off and pressing a new one onto the tube.
- Punctures or seams: Dry the area completely and apply a flexible polyurethane patch or waterproof tape. Urethane adhesives or gear tape work well for temporary field fixes.
Use your HydraPak to its full potential with NorthShore Watersports
Mastering the HydraPak bladder and how to use takes only a few minutes, but it pays off with years of reliable, hands-free hydration. By washing it properly, understanding the Slide-Seal top, and treating the bite valve with care, you’re setting yourself up for success on every river, lake, or coastline you conquer.
Want to expand your HydraPak collection or need a replacement part? Shop an extensive HydraPak range here at NorthShore Watersports for more bladders, water bottles, soft flasks, filtration systems, and spare parts.
Comments are closed here.